

What and Why Docker Compose:
docker-compose is the tool used to create and run multiple containers for the application. It allows you to describe the services, networks, and volumes required for your application in a single YAML file called docker-compose.yml
Imagine you're building a blogging platform called "devBlog" that allows users to create and publish blog posts. The web server handles user requests and serves the website, while the database stores the blog posts.
docker-compose use the YAML file to configure the application.
Let's start...............
a. To check the version of the docker-compose docker-compose version
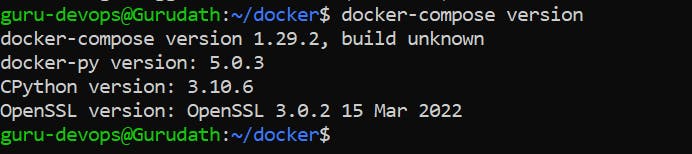
b. If you cannot find the version, then you need to install Docker Compose by following the commands below (assuming you are using Ubuntu):
sudo apt update
sudo apt install docker-compose
docker-compose version
We are using the YAML file to create the image. you can use any text editor of your choice and the yaml look like below.
if you are not sure about how to create the YAML file check the link https://www.redhat.com/en/topics/automation/what-is-configuration-management
version : "3.3"
services:
  web:
    image: nginx:latest
    ports:
      - "80:80"
  db:
    image: mysql
    ports:
      - "3306:3306"
    environment:
      - "MYSQL_ROOT_PASSWORD=test@123"
version: "3.3": This line specifies the version of the Docker Compose file format being used. In this case, it's version 3.3.services:: This is the start of the services section, where you define the different containers or services that make up your application.web:: This is the name of the first service or container. In this example, it represents a web service.image: nginx:latest: This line specifies the Docker image to be used for the "web" service. In this case, it uses the latest version of the Nginx image from the Docker Hub.ports:: This section defines the ports to be exposed by the container."80:80": This line maps the host machine's port 80 to the container's port 80. It allows accessing the web service running inside the container via the host's port 80.
db:: This is the name of the second service or container. In this example, it represents a database service.image: mysql: This line specifies the Docker image to be used for the "db" service. It uses the official MySQL image from the Docker Hub.ports:: Similar to the "web" service, this section defines the ports to be exposed by the container."3306:3306": This line maps the host machine's port 3306 to the container's port 3306. It allows accessing the MySQL database running inside the container via the host's port 3306.
environment:: This section allows defining environment variables for the container."MYSQL_ROOT_PASSWORD=test@123": This line sets the environment variableMYSQL_ROOT_PASSWORDto the value "test@123". It provides the root password for the MySQL database.
After configuring the Docker Compose file, execute the "docker-compose up" command in detach mode.
docker-compose up -d
When you run the "docker-compose up" command, it not only builds and creates the necessary Docker images but also starts the containers based on the configurations specified in the Docker Compose file. It sets up the defined services, establishes network connections between containers, and mounts volumes as per the configuration.

Now, let's check whether the container is running or not by using docker ps command

yes, the container running ...................
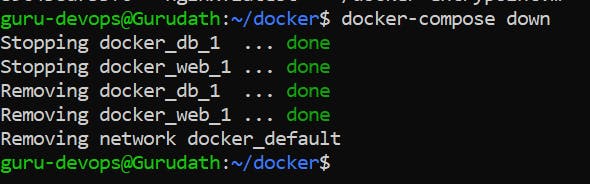
Now we can stop all the containers using the single command docker-compose down
Now, let's learn how to scale Docker containers. To scale a container, you need to specify the number of instances you require for a particular service. Let's scale our database server (db) by using the following command:
By running the command docker-compose up -d --scale db=2, we are launching two instances of the database server.

What and Why Docker Volume:
In Docker, a volume is like a special folder that can store data generated by Docker containers. It's different from the containers themselves and can be shared by multiple containers.
The cool thing about volumes is that they keep data safe even if you stop or delete the containers. So, your important information won't be lost.
Think of a volume as a secure storage space that exists independently of the containers. It's like having a shared folder where containers can save and retrieve data.
By using volumes, Docker provides a reliable and flexible way to manage data in containers. It's a valuable feature for storing and accessing important information in your applications.
Commands:
docker volume create --------------Create a volume

In the example image, I have created a Docker volume named "guru-volume".
docker volume inspect ----------Display detailed information on one or more volumes

docker volume ls ----------------List volumes

docker volume rm --------- Remove one or more volumes

docker volume prune ------- Remove all unused local volumes
Hands-on for docker volume :
- Pull the Jenkins from the docker hub.
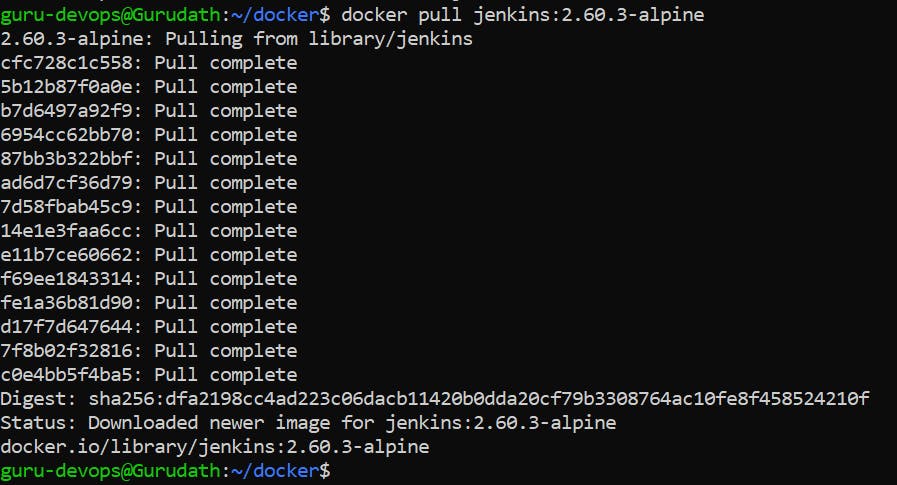
docker pull jenkins:2.60.3

Run the Jenkins: docker run --name MyJenkins1 -v guru-volume:/var/jenkins_home -p 8080:8080 -p 50000:50000 jenkins
docker run --name MyJenkins1 -v guru-volume:/var/jenkins_home -p 8888:8080 -p 50000:50000 jenkins:2.60.3-alpinedocker run: This is the command to run a Docker container.
--name MyJenkins1: The name of the container to "MyJenkins1". The name can be any custom name you prefer.
-v guru-volume:/var/jenkins_home: This specifies a volume to mount inside the container. It uses the volume named "guru-volume" and mounts it to the "/var/jenkins_home" directory inside the container. This allows the Jenkins data to persist even if the container is stopped or removed.
-p 8888:8080: This option maps the container's port 8080 to the host's port 8080. It allows you to access the Jenkins web interface by accessing localhost:8888 on your host machine.
-p 50000:50000: This option maps the container's port 50000 to the host's port 50000. It is used for Jenkins agent communication.
jenkins:2.60.3-alpine: This is the image name.
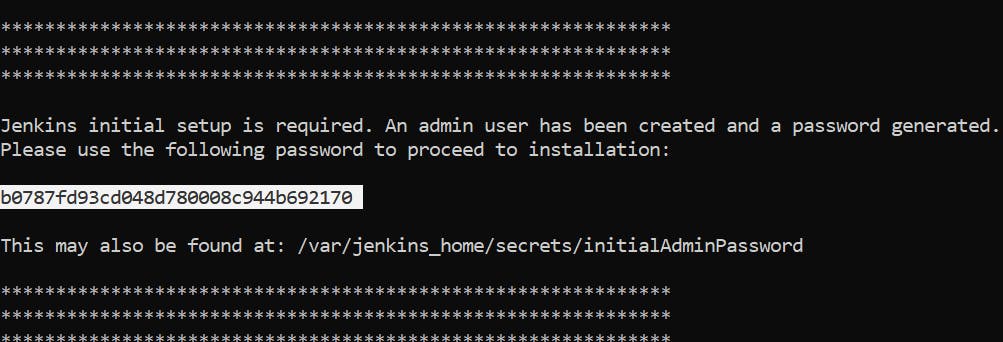
After the docker run you can access the Jenkins by localhost:8888 or IP:8888

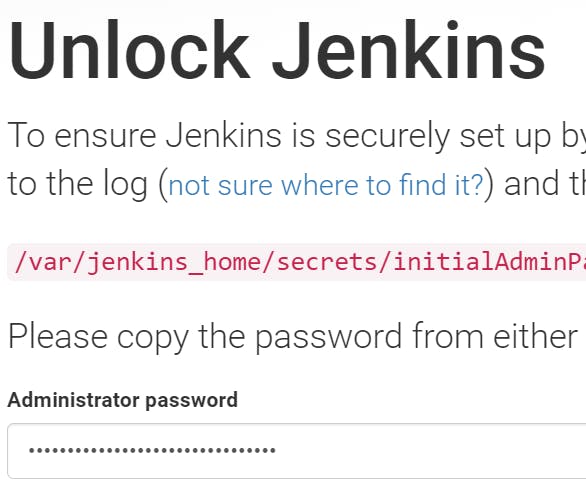
Copy the administration password and access the jenkins.
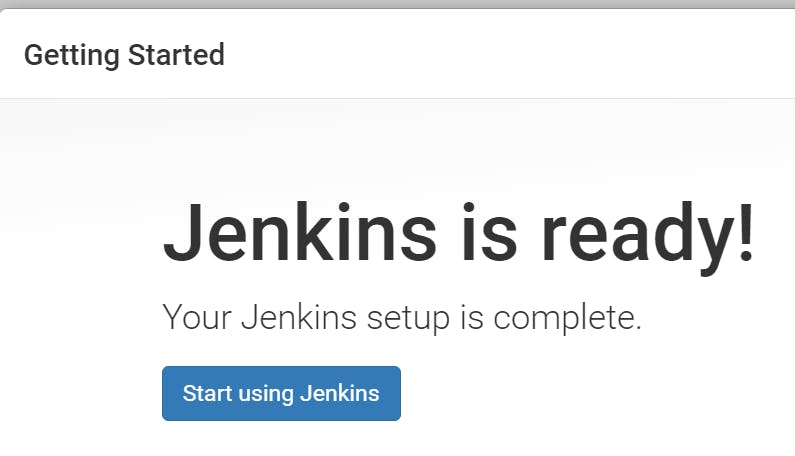
Press Continue:
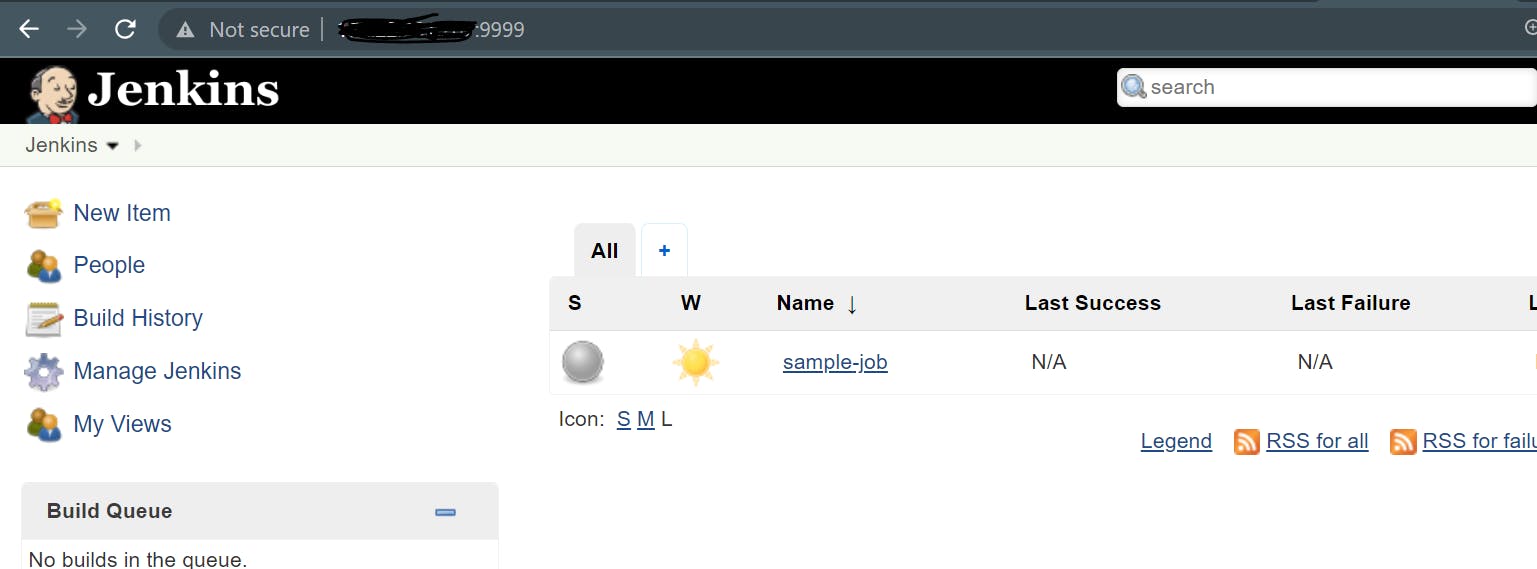
Create one Job:


Open the New-terminal:
run the same docker run command but change the name of the container and port number:
docker run --name MyJenkins2 -v guru-volume:/var/jenkins_home -p 9999:8080 -p 60000:50000 jenkins:2.60.3-alpine


You can access the same job (sample-job) we have created because we are using the shared volume named guru-volume.
This was a simple example to understand the concept of Docker volumes.
What and Why Docker Network:
Docker network is a virtual network infrastructure that allows containers to communicate with each other and with the outside world. It enables containers to connect to each other, share data, and access resources securely.
The main purpose of Docker networking is to provide a scalable and isolated network environment for containers. It allows containers to communicate using IP addresses, DNS names, and ports, just like in a traditional network. Docker provides different networking options that can be used based on the requirements of the application and the desired level of isolation.
Docker containers are used in two ways: containers that need to communicate with each other and containers that need to be isolated from one another.
How does Container talk to the Host in terms of the network?
By default, Docker sets up a bridge network called docker0 on the host machine. This bridge acts as a virtual network switch, connecting the containers to the host's network. The bridge network has an IP address on the host machine's network, and containers are assigned IP addresses within the bridge network.
To enable communication between a container and the host, Docker sets up port mappings. You can use the -p or --publish flag when running a container to specify port mappings. For example, to map port 8080 on the host to port 80 in a container, you can use the following command:
docker run -d -p 8080:80 my-container
This command binds port 8080 on the host to port 80 in the container. Now, any traffic sent to port 8080 on the host will be forwarded to port 80 in the container.
There are 3 network modes in docker.
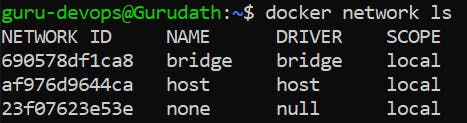
Bridge Network Mode: When you create a container and use the bridge network mode, Docker creates a virtual network bridge called docker0 on your host machine. Each container gets its own unique IP address within this bridge network. Containers connected to the same bridge can communicate with each other through this bridge network. The bridge also provides external connectivity to the containers by performing network address translation (NAT) to forward traffic between the container and the host's network.
Host Network Mode: In host network mode, the container shares the host's network stack directly. This means that the container uses the host's network interfaces (e.g., eth0) and IP address. As a result, the container can directly access network services running on the host without any network address translation. This mode provides the highest network performance but eliminates the network isolation that containers usually have.
None Network Mode: When you use the none network mode, the container has no network connectivity at all. It doesn't have access to any network interfaces, IP address, or external network. This mode is useful in scenarios where you want to run a container without any network communication.
Check out the Docker network link below for a better understanding!
Docker NETWORK -- https://collabnix.com/a-beginners-guide-to-docker-networking/
https://www.youtube.com/watch?v=xrUGEoUpa3s&t=182s
https://www.youtube.com/watch?v=bKFMS5C4CG0&t=1665s
Thank you for taking the time to read this article. 😊📖 Hope you found it helpful! 🌟 If you have any questions or want to share your thoughts, feel free to leave a comment below. 💬 Happy learning! 🌈🚀