Exploring Jenkins Agents for Seamless CI/CD
#90DaysofDevops Challenge- Day24

I am an aspiring DevOps engineer with a strong passion for learning and growing in this field. After being inspired by my roommate's journey from mechanical engineering to DevOps, I realized my own affinity for computers and decided to pursue this path towards success. Please guide me on this journey
What and Why Jenkins Agents Required.
Jenkins agents are worker machines or computing resources that are responsible for executing the build steps and tasks defined in Jenkins Master.
Let's assume that we have three applications: Python (requires 16 GB RAM), Java (requires 8 GB RAM), and Javascript (requires 12 GB RAM). If we run all these applications on a single server, it may experience a high load and crash. To avoid this, we can use Jenkins Agents. We will set up a master server that manages three agents/nodes, each dedicated to running a specific application. This approach allows us to distribute the workload safely, ensuring that each application runs correctly and preventing server overload or crashes.
Overall, Jenkins Agents enable us to scale our CI/CD processes, improve efficiency, and maintain a stable and reliable environment for our applications.

The prerequisites for establishing a connection between a Jenkins master and agents are as follows:
Jenkins Master: The master server should have Jenkins installed and properly configured. The Jenkins master manages the overall Jenkins environment, including the configuration of jobs, scheduling, and distribution of tasks to agents.
Agents: The agents, also known as slave nodes, should have Java installed. Jenkins requires Java to be present on the agents for them to run the necessary Java-based processes.
SSH Connection: The Jenkins master needs to establish an SSH (Secure Shell) connection with the agents. This connection allows the master to remotely control and execute tasks on the agents.
Okay, let's dive into setting up the Jenkins master and nodes. In this case, we will be using AWS instances to create the master and Node/Agent.
Here we will create two instances one for the master with Jenkins installed and another one for an agent with Java installed.

On Master--------- To install Jenkins use this link - https://www.jenkins.io/doc/book/installing/linux/
To generate the SSH key - https://www.unixtutorial.org/how-to-generate-ed25519-ssh-key/
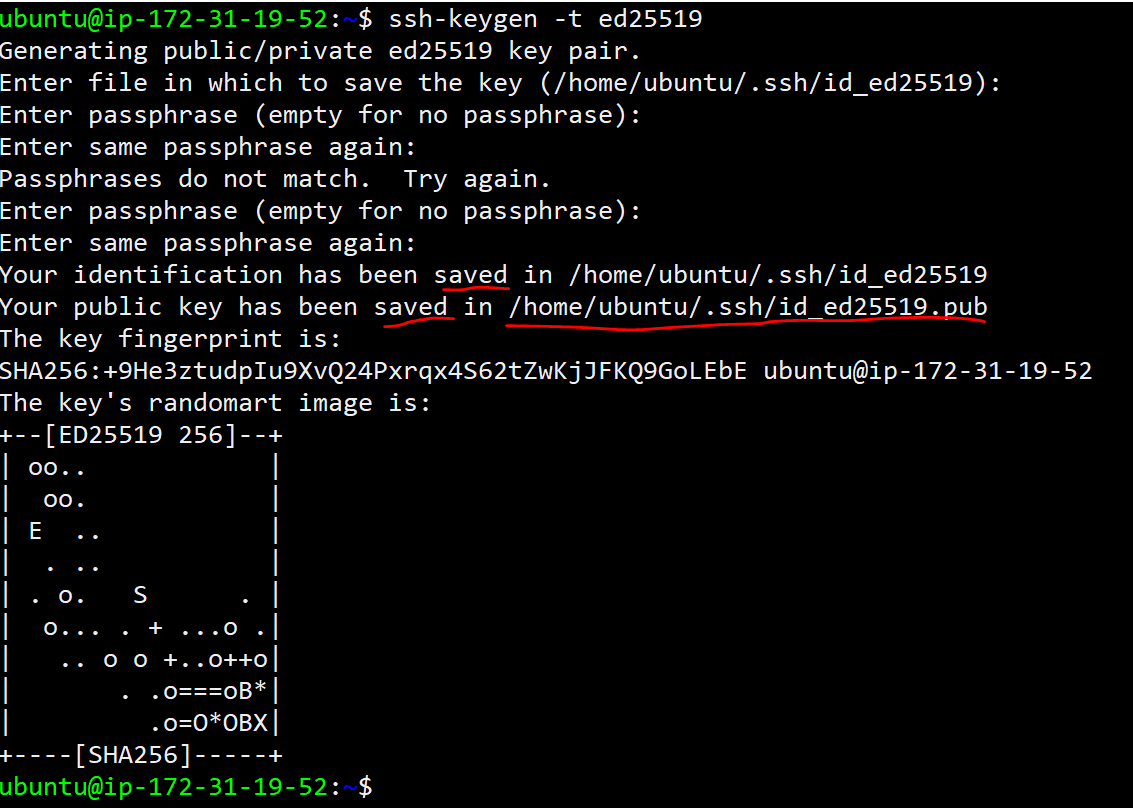

You will find two types of keys if you follow the provided link. Among them, the public key is required for our agent.
To proceed, access the agent instance and navigate to the ".ssh" directory. Open the "authorized_keys" file within that directory and paste the public key into it.
On Master _____

On Agent _____


Now, ssh the agent from the master..... go to the master server and type ssh ubuntu@ipaddrss_of_agent


It's Connected right........Yes.
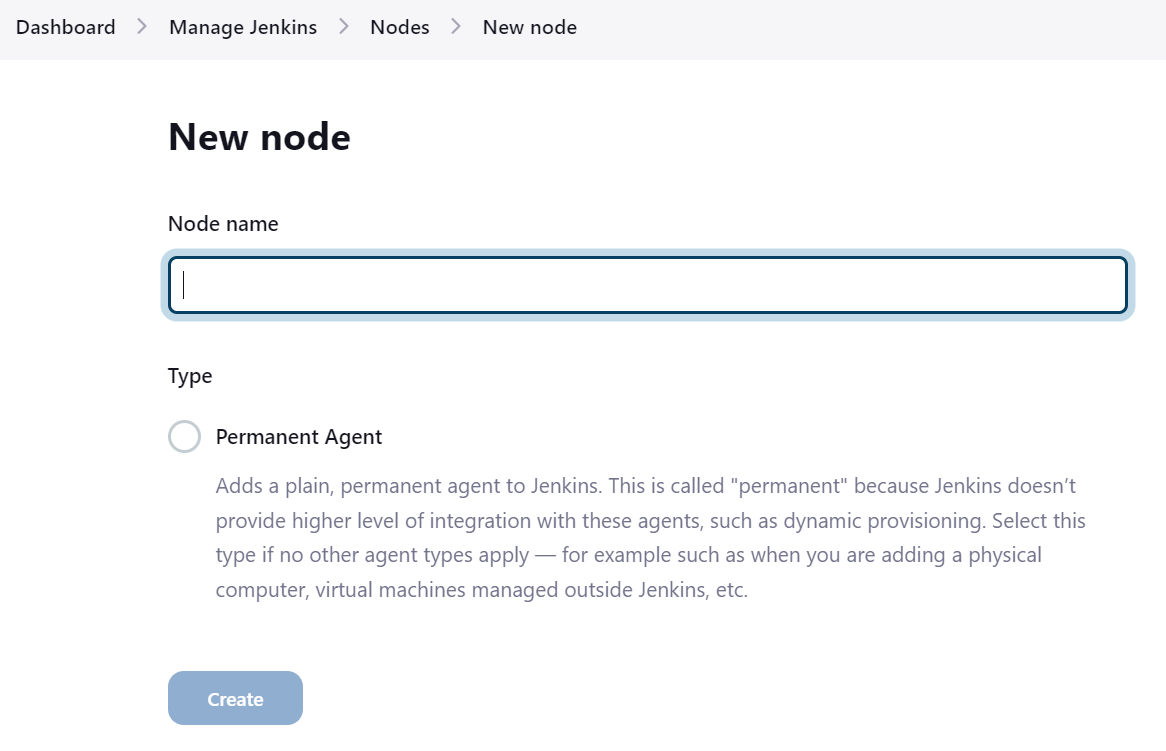
Now the same thing we have to do in JenkinsDashboard>Manage Jenkins > Nodes > New node. Enter the name of the node name.
Give the node a name and select it as a permanent agent. This will ensure the agent remains connected to Jenkins consistently.
In the new window, provide a description for the agent.
Set the number of executors to 1. This determines the maximum number of concurrent builds the agent can handle.
Specify the remote root directory as "home/ubuntu/jenkins-agent" (the working space for the agent).

Assign a label to the node. This label will be used to associate jobs with the specific agent.
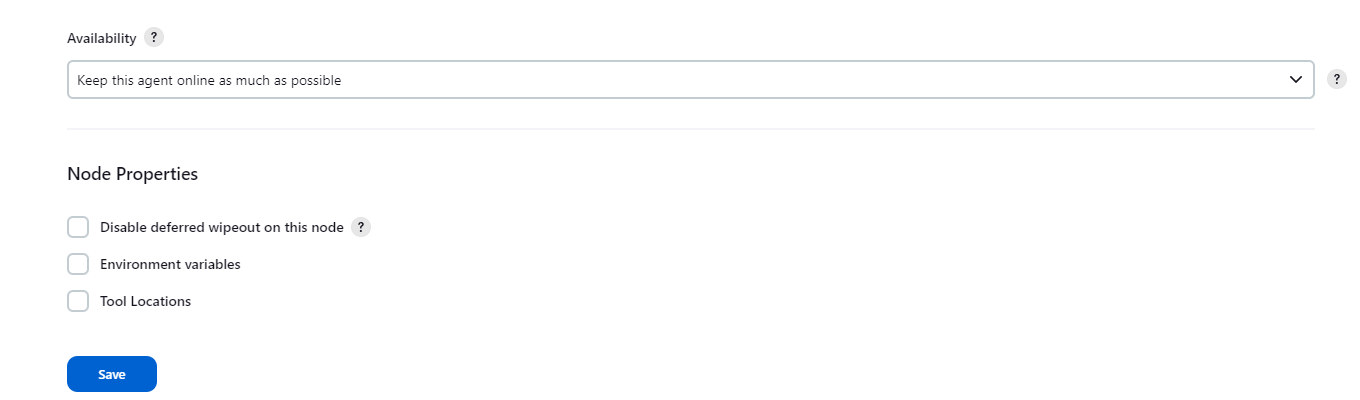
In the "Usage" section, select "Use this node as much as possible" to maximize utilization of the agent.
Choose the "Launch method" as "SSH" and enter the public IP address of the agent.

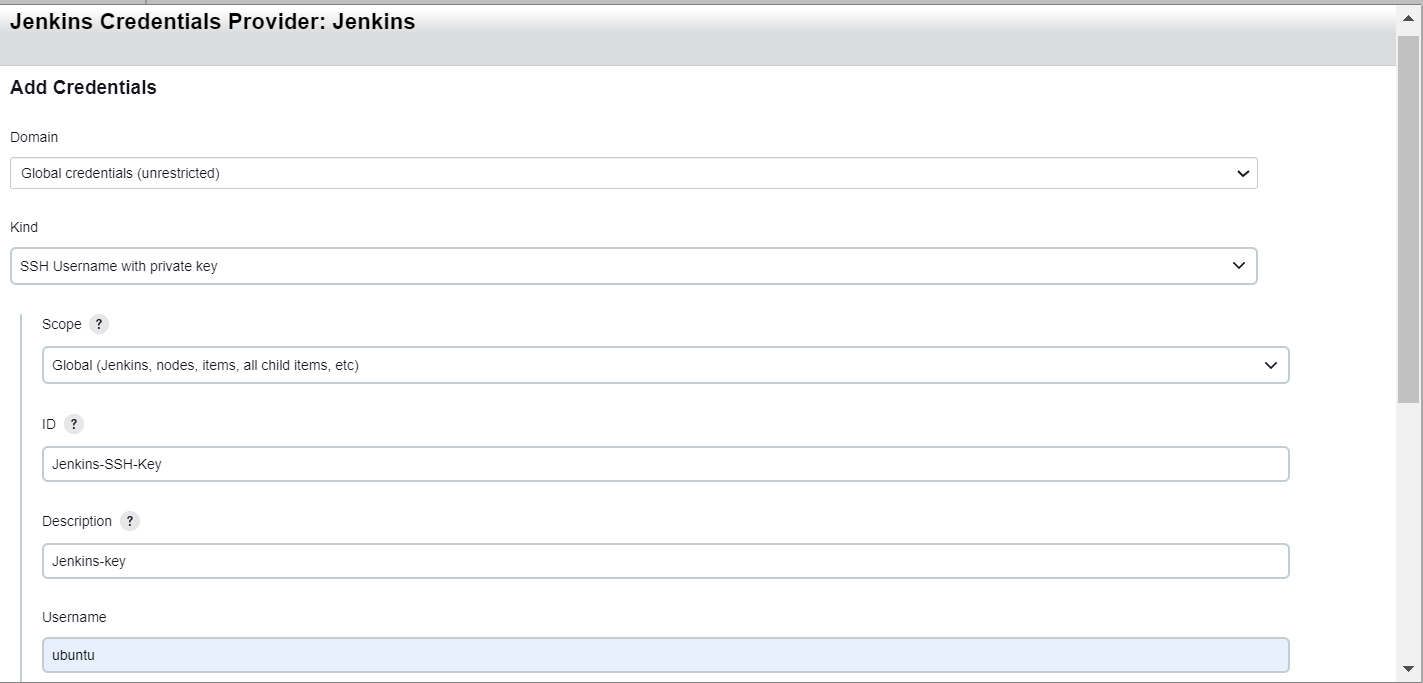
Provide the necessary credentials for the SSH connection in the "Domain-Global Credentials" section. Choose the "SSH Username with private key" option for the kind of credentials. Leave the scope section as default.
In the "ID" section, provide a unique name to identify these credentials internally within Jenkins jobs and configurations.
For the "Username," enter "ubuntu" since we are using the Ubuntu operating system for the agent.
- Add the private key from the master server which we already created earlier.

Select the credentials you saved from the dropdown menu. This will populate the SSH credential field with the selected credentials.
choose the "Non-verification Strategy" section, or choose the appropriate option based on your requirements. This strategy determines how Jenkins verifies the host's identity during SSH connections. Select the option that best fits your security needs.

- rest keep as it defaults and save.
By these steps, you will provide the necessary SSH credentials for the agent, ensuring a secure and authenticated connection between the Jenkins master and the agent.
Go to the agent and install the java on agen server.
sudo apt update
sudo apt install openjdk-17-jre
After successfully installing Java, return to the Jenkins interface on the master server and launch the agent by following these steps:
Navigate to the Jenkins web interface.
Go to the agent configuration page.
Click on the agent we have created earlier.
In the agent configuration, scroll down and click on the "Launch agent" button.


Yes, we successfully sync the agent and master.
Let's Build a Pipeline
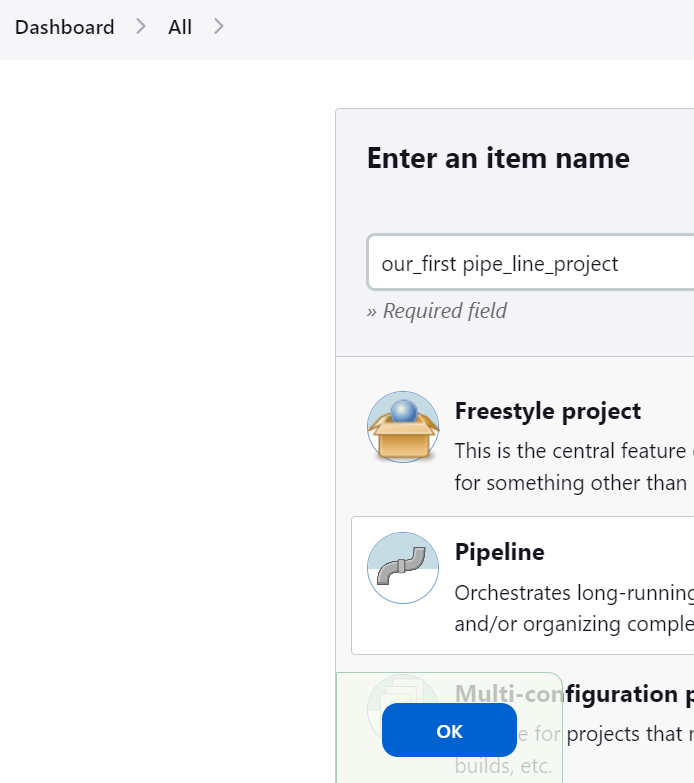
Once logged in, you should be on the Jenkins dashboard. Click on the "New Item" link on the left-hand side.
Enter the name of the project as "our_first_pipeline_project" in the item name field.
Scroll down to the "Pipeline" section and select the "Pipeline" option.
Click on the "OK" button to create the pipeline project.
Provide a description according to your requirements and select the GitHub project option. Paste the URL "https://github.com/guru-dath/node-todo-cicd" in the appropriate field.

next, come down upto the pipeline section and select the executed shell.
and write the script.
pipeline {
    agent {label "testing-server"} #Label as you given earlier while creating the agent

    stages {
        stage('Clone Repository') {
            steps {
                git url:'https://github.com/guru-dath/node-todo-cicd.git', branch: "master"
            }
        }
        stage('Build & test') {
            steps {
                echo "Docker will Build This"
            }
        }
        stage('Push to Docker Hub') {
            steps {
                echo "Pushing to Docker Hub"
            }
        }
    }

}
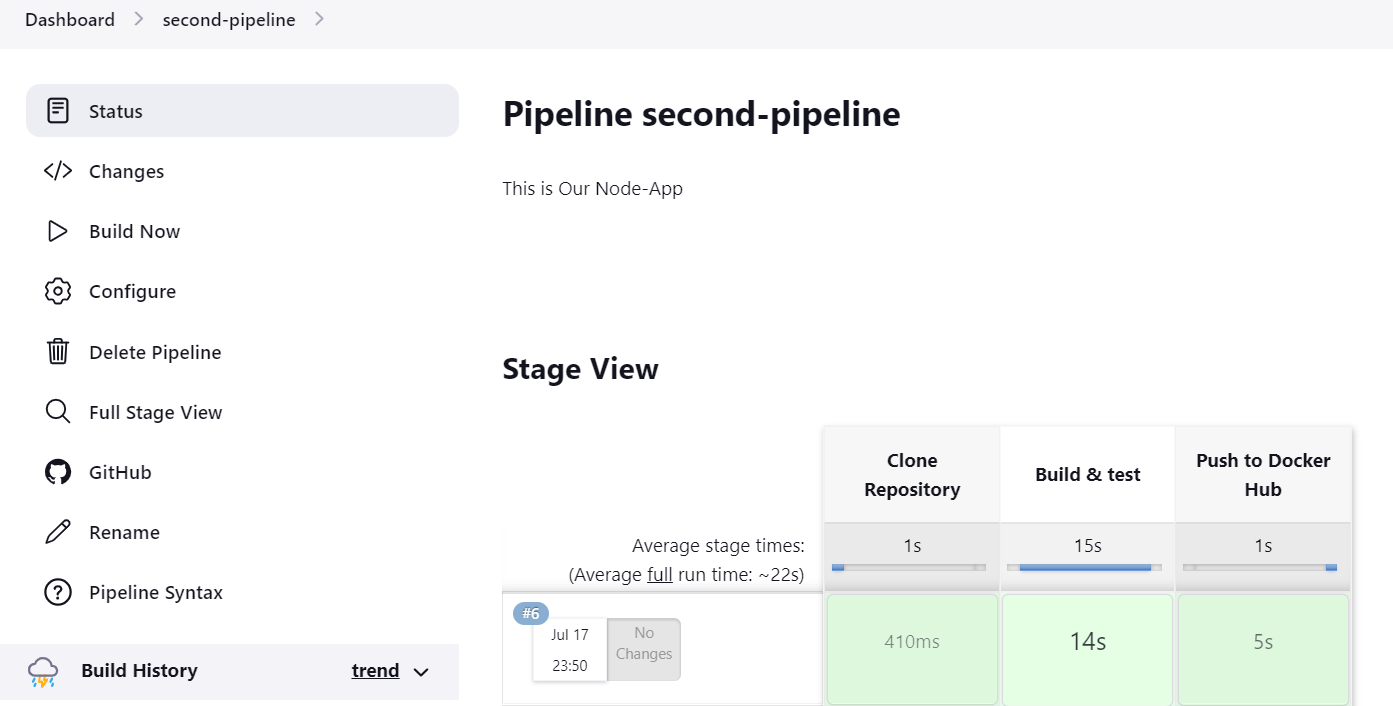
After writing the script save and build the project. once your build successfully your console looks like this.

Note: the above script only clones the repository from GitHub.
Let's perform some advanced tasks such as building, running, and pushing a Docker image to Docker Hub.
Before pushing the image to Docker Hub, it's assumed that you already have a Docker Hub account. If you have a Docker Hub account, we can automate the process of pushing the image in Jenkins. However, we can't openly share our Docker Hub login credentials.
To securely provide the Docker Hub login credentials, we need to install a plugin called "Environment Injector."
To install the "Environment Injector" plugin, follow these steps:
Go to the Jenkins dashboard and click on "Manage Jenkins." Navigate to the "Plugins" section. Search for the "Environment Injector" plugin. Install the plugin. By installing the "Environment Injector" plugin, we can securely inject Docker Hub login credentials into the Jenkins pipeline for pushing the Docker image.

After restarting Jenkins, follow these steps to add credentials in the Jenkins system:
Go to the Jenkins dashboard and click on "Manage Jenkins." Select "Credentials" from the options available. Click on "System" in the left navigation menu. Choose "Global credentials" from the available options. Click on "Add credentials" to add new credentials.
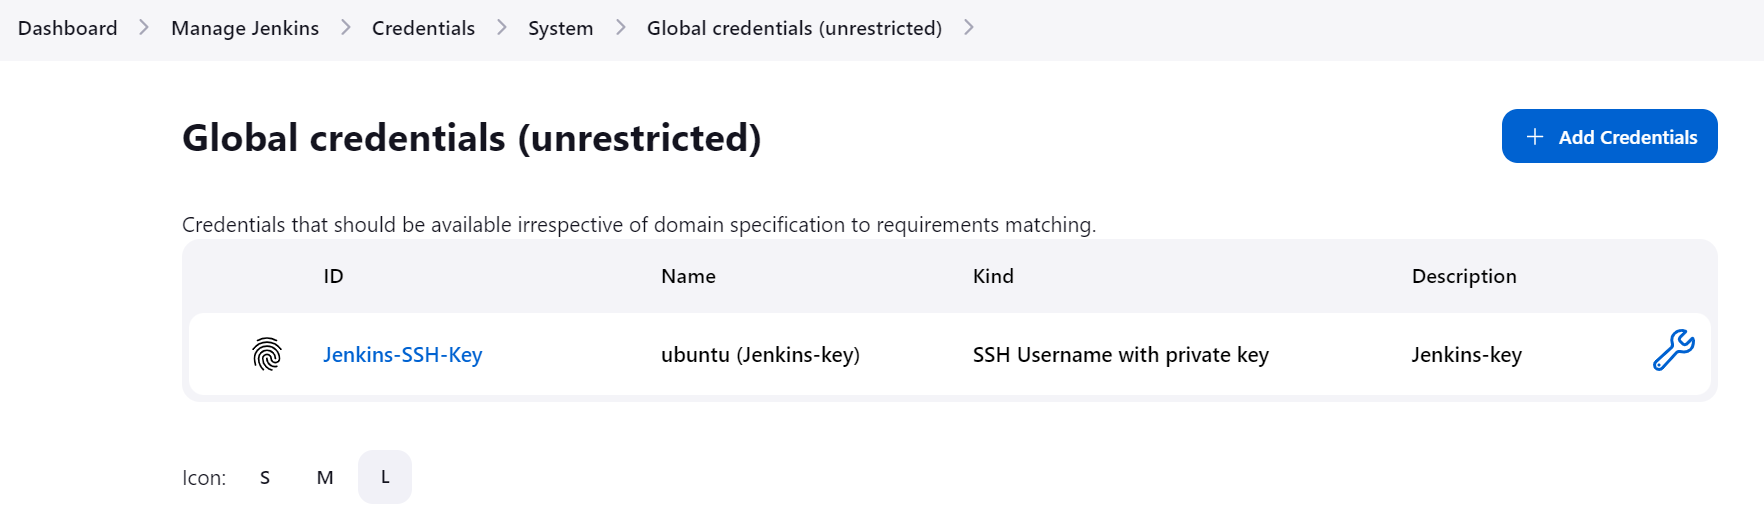
To add your Docker Hub username and password as credentials in Jenkins, follow these simplified steps:
Select the option for "Username and Password" credentials. Enter your Docker Hub username and password in the respective fields. Provide an ID for the credentials, which can be used to identify them in jobs and other configurations. Click on the "Create" button to save the credentials.

come back to our script in pipeline project, write the below script.
pipeline {
    agent {label "testing-server"}

    stages {
        stage('Clone Repository') {
            steps {
                git url:'https://github.com/guru-dath/node-todo-cicd.git', branch: "master"
            }
        }
        stage('Build & test') {
            steps {
                sh "docker build . -t node-app-guru"
            }
        }
        stage('Push to Docker Hub') {
            steps {
                withCredentials([usernamePassword(credentialsId: "dockerHub", passwordVariable:"dockerhubpass", usernameVariable:"dockerHubuser")]){
                sh "docker tag node-app-guru ${env.dockerHubuser}/node-app-guru:from-jenkins"
                sh "docker login -u ${env.dockerHubuser} -p ${env.dockerhubpass}"
                sh "docker push ${env.dockerHubuser}/node-app-guru:from-jenkins"
                }
            }
        }
    }

}
the script defines a Jenkins pipeline with three stages. It runs on an agent labeled as "testing-server." The first stage clones a Git repository, the second stage builds and tests the code using Docker, and the third stage pushes the built Docker image to Docker Hub. The script also includes authentication with Docker Hub using provided credentials before pushing the image.
Thats It.....
Thank you for taking the time to read this article. 😊📖 Hope you found it helpful! 🌟 If you have any questions or want to share your thoughts, feel free to leave a comment below. 💬 Happy learning! 🌈🚀


